There are a number of ways to glue a bridge on the top. What they all have in common is that the finish always has to come off down to the wood in order to allow a strong glue joint. Many builders remove the finish by routing but leave a thin line of finish inside of the bridge footprint, as this gives the cleanest appearance. Most full gloss finishes are a few thousandths of an inch thick, so the bottom of the bridge doesn’t contact the exposed wood of the top, making the glue joint problematical. Some try to improve this by slightly rebating the underside perimeter of the bridge in an attempt to have the edges of the bridge sit directly on the finish with the underside of the bridge in contact with bare wood to ensure a strong joint. Trying to make this work out well can be an exercise in frustration unless it all comes together perfectly. The problem is that we're dealing with just a few thousandths of an inch and a little bit of extra glue sets the bridge too high and too little glue makes for a glue joint with gaps between bridge and top. After doing some test samples, I've arrived at the belief that the best way to do it is to score the finish around the perimeter of the bridge and then rout and chisel right up to the scored line. You don’t want to try this after a couple of double espressos! The bridge then sits right on the wood in a very shallow recess and you know that when it’s clamped you're going to get a good glue joint. The joint line between the bridge and the top is not as clean but when hot hide glue is used, it tends to fill the visible joint between bridge and finish and the bridge is likely to stay where it belongs for a long time. My necks are attached to the heel of the body in the same way with a routed and recessed surface and hot hide glue (as well as a through bolt, of course).
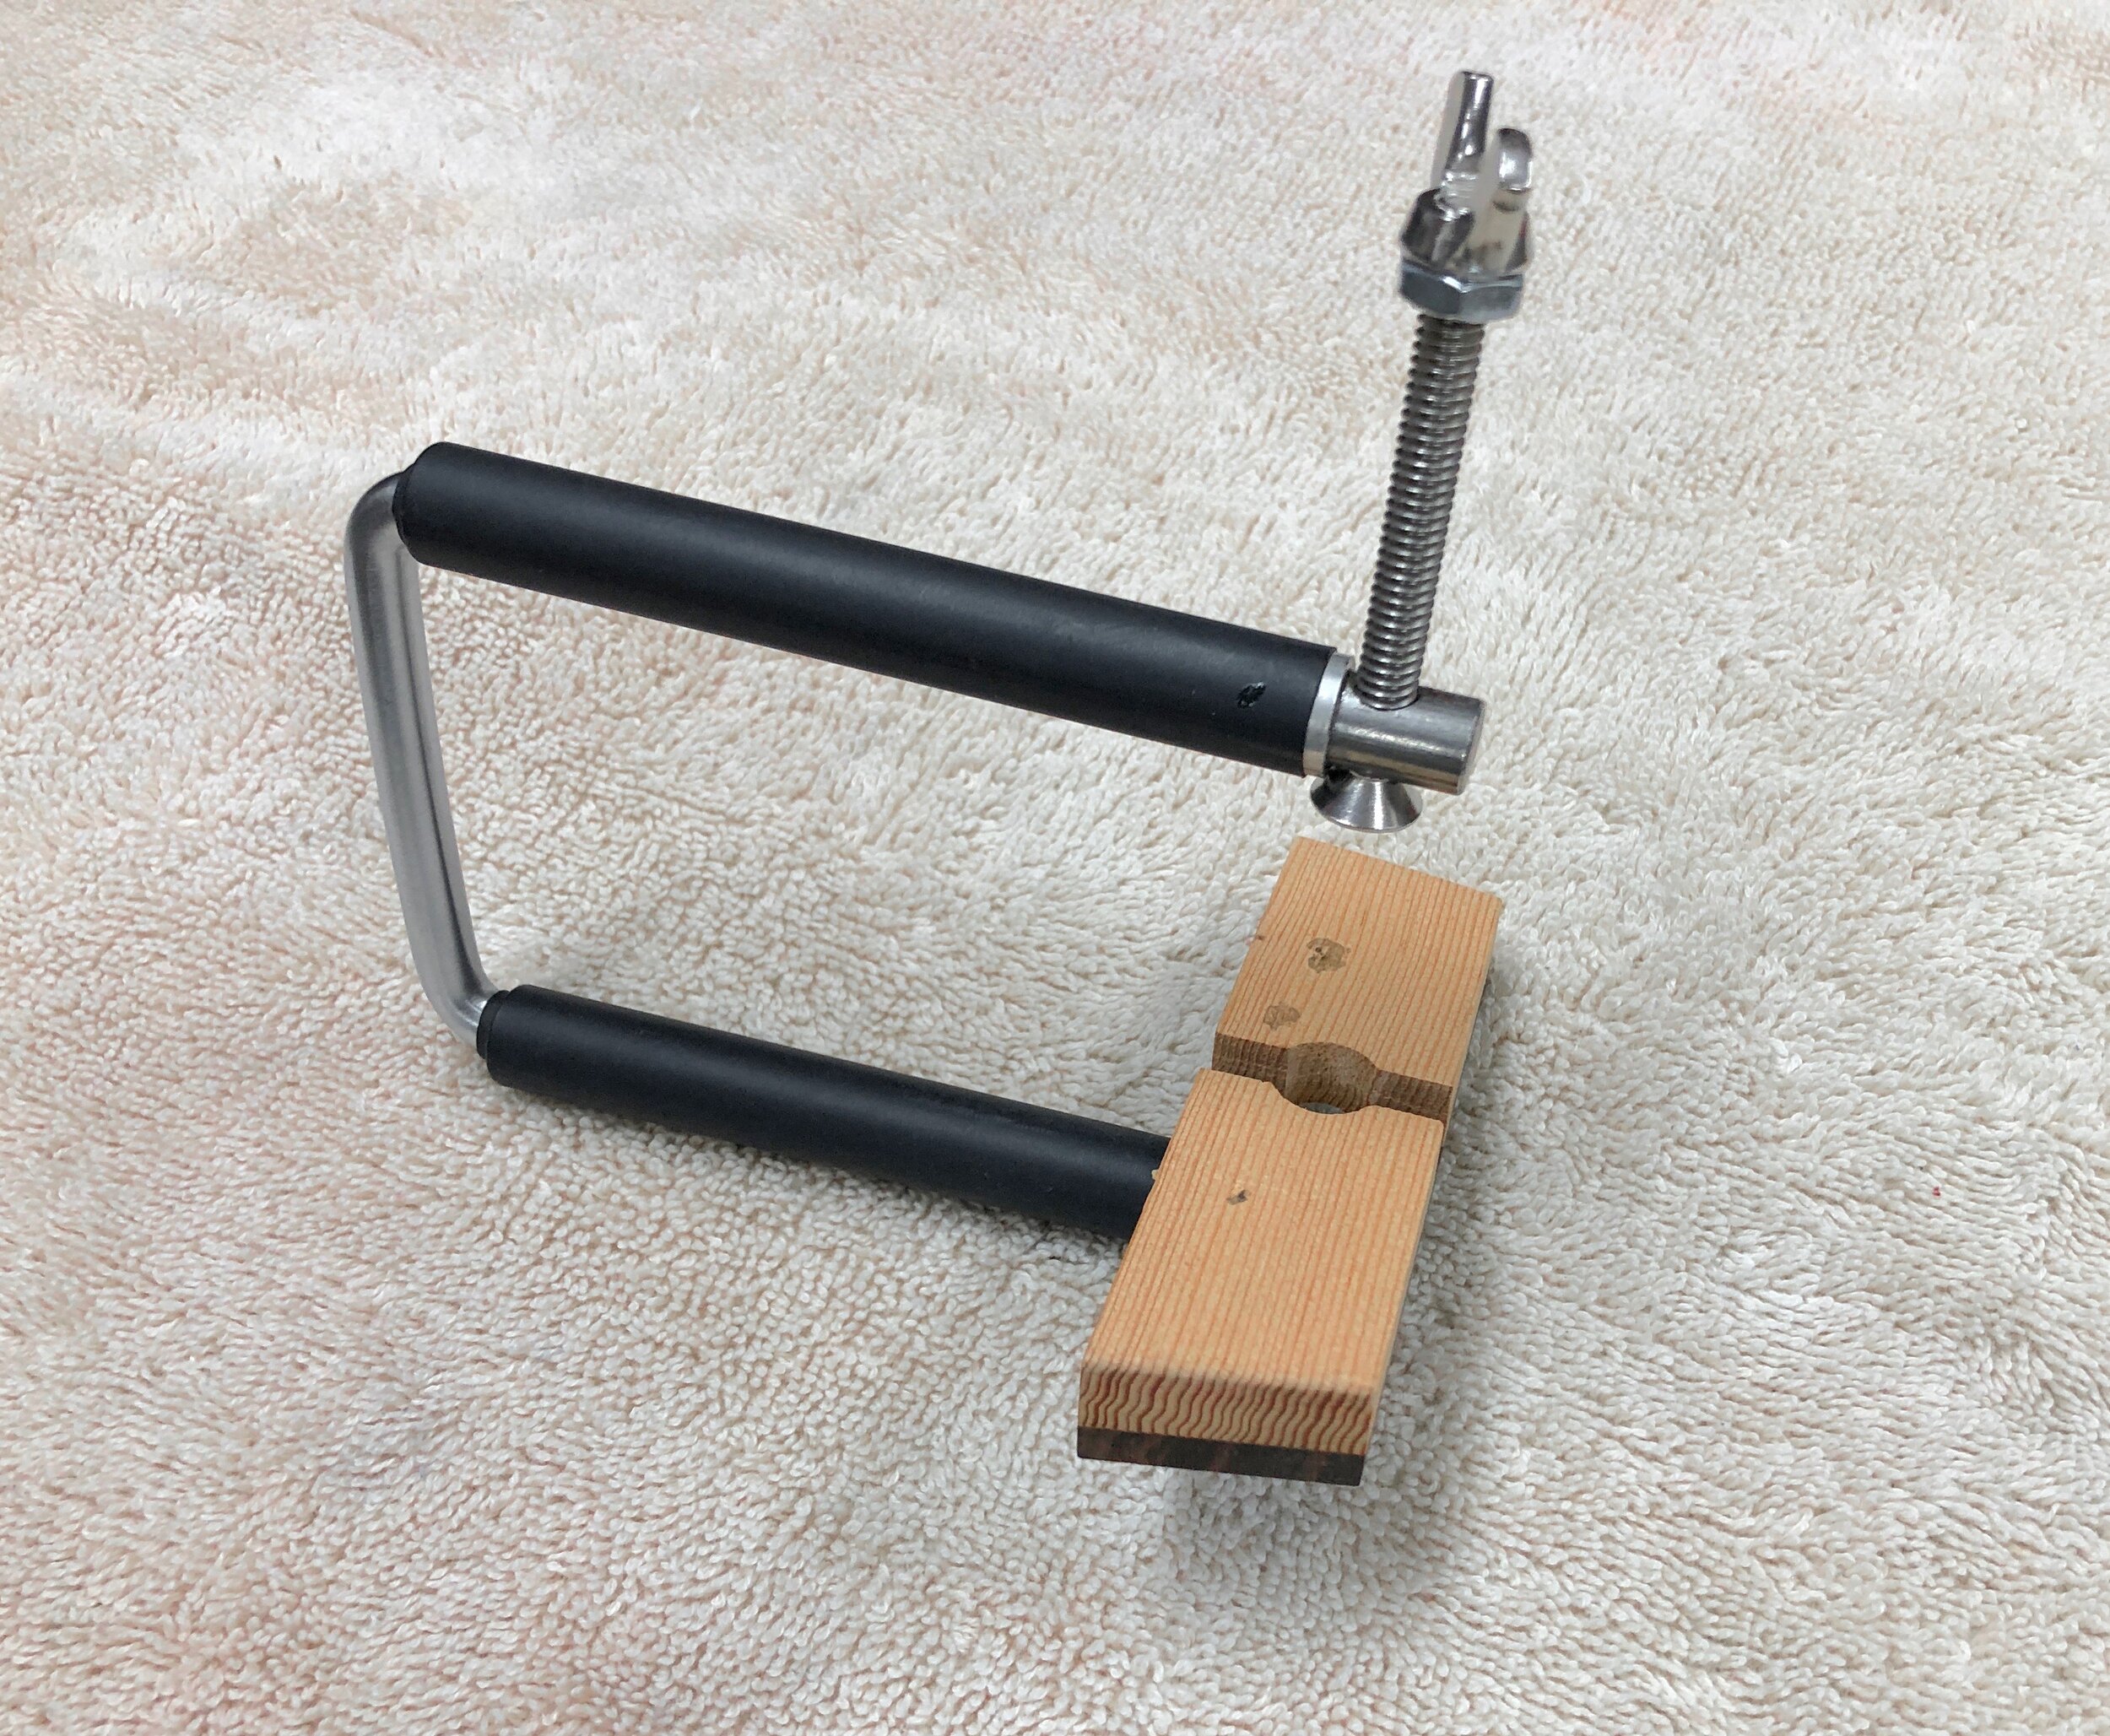
A fitted caul is essential to my gluing system. The top of the caul is curved to match the 25’ radius of the top and it is slotted as necessary to avoid the internal top braces. This helps to insure that the top retains the correct curvature and that there is good contact between the top and the underside of the bridge to promote the best possible strength in the glue joint.


