Setup is the process of adjusting the height of the strings with respect to the fretboard. To at least some extent, this is a matter of personal preference of the player but the generally accepted rule is that playability is enhanced when the strings are as close to the frets as possible but high enough above them that they don't contact them when vibrating, which causes buzzing. This is accomplished by adjusting the height of the nut and the height of the saddle in an interactive process by which the height at each end is adjusted. First, a point needs to be made with respect to radiused fretboards. Both the nut and the saddle have tops that are radiused to match the fretboard, so it is convenient to radius the tops and then adjust the height of both the nut and the saddle by removing material from the flat bottom. A clever tool maker has invented a device that does this job very well. The nut or saddle is clamped in the tool and then run across a flat piece of sandpaper. It’s easy to adjust the amount that is removed and, more importantly, the bottom surfaces of the nut and saddle end up perfectly flat, which is exactly what we want so that they seat well in their slots.
Anyone who tries to shape a very small piece of bone while holding it with fingers will quickly start looking for a better way. The work piece needs to be held firmly in jaws that won't damage the bone and in a position that makes it easy to shape the top with sandpaper. I made this plastic “jaws within jaws” that works with my vise. It’s narrow enough and far enough above the wider vise jaws that I can easily shape and refine the tops of nuts and saddles with sanding boards.
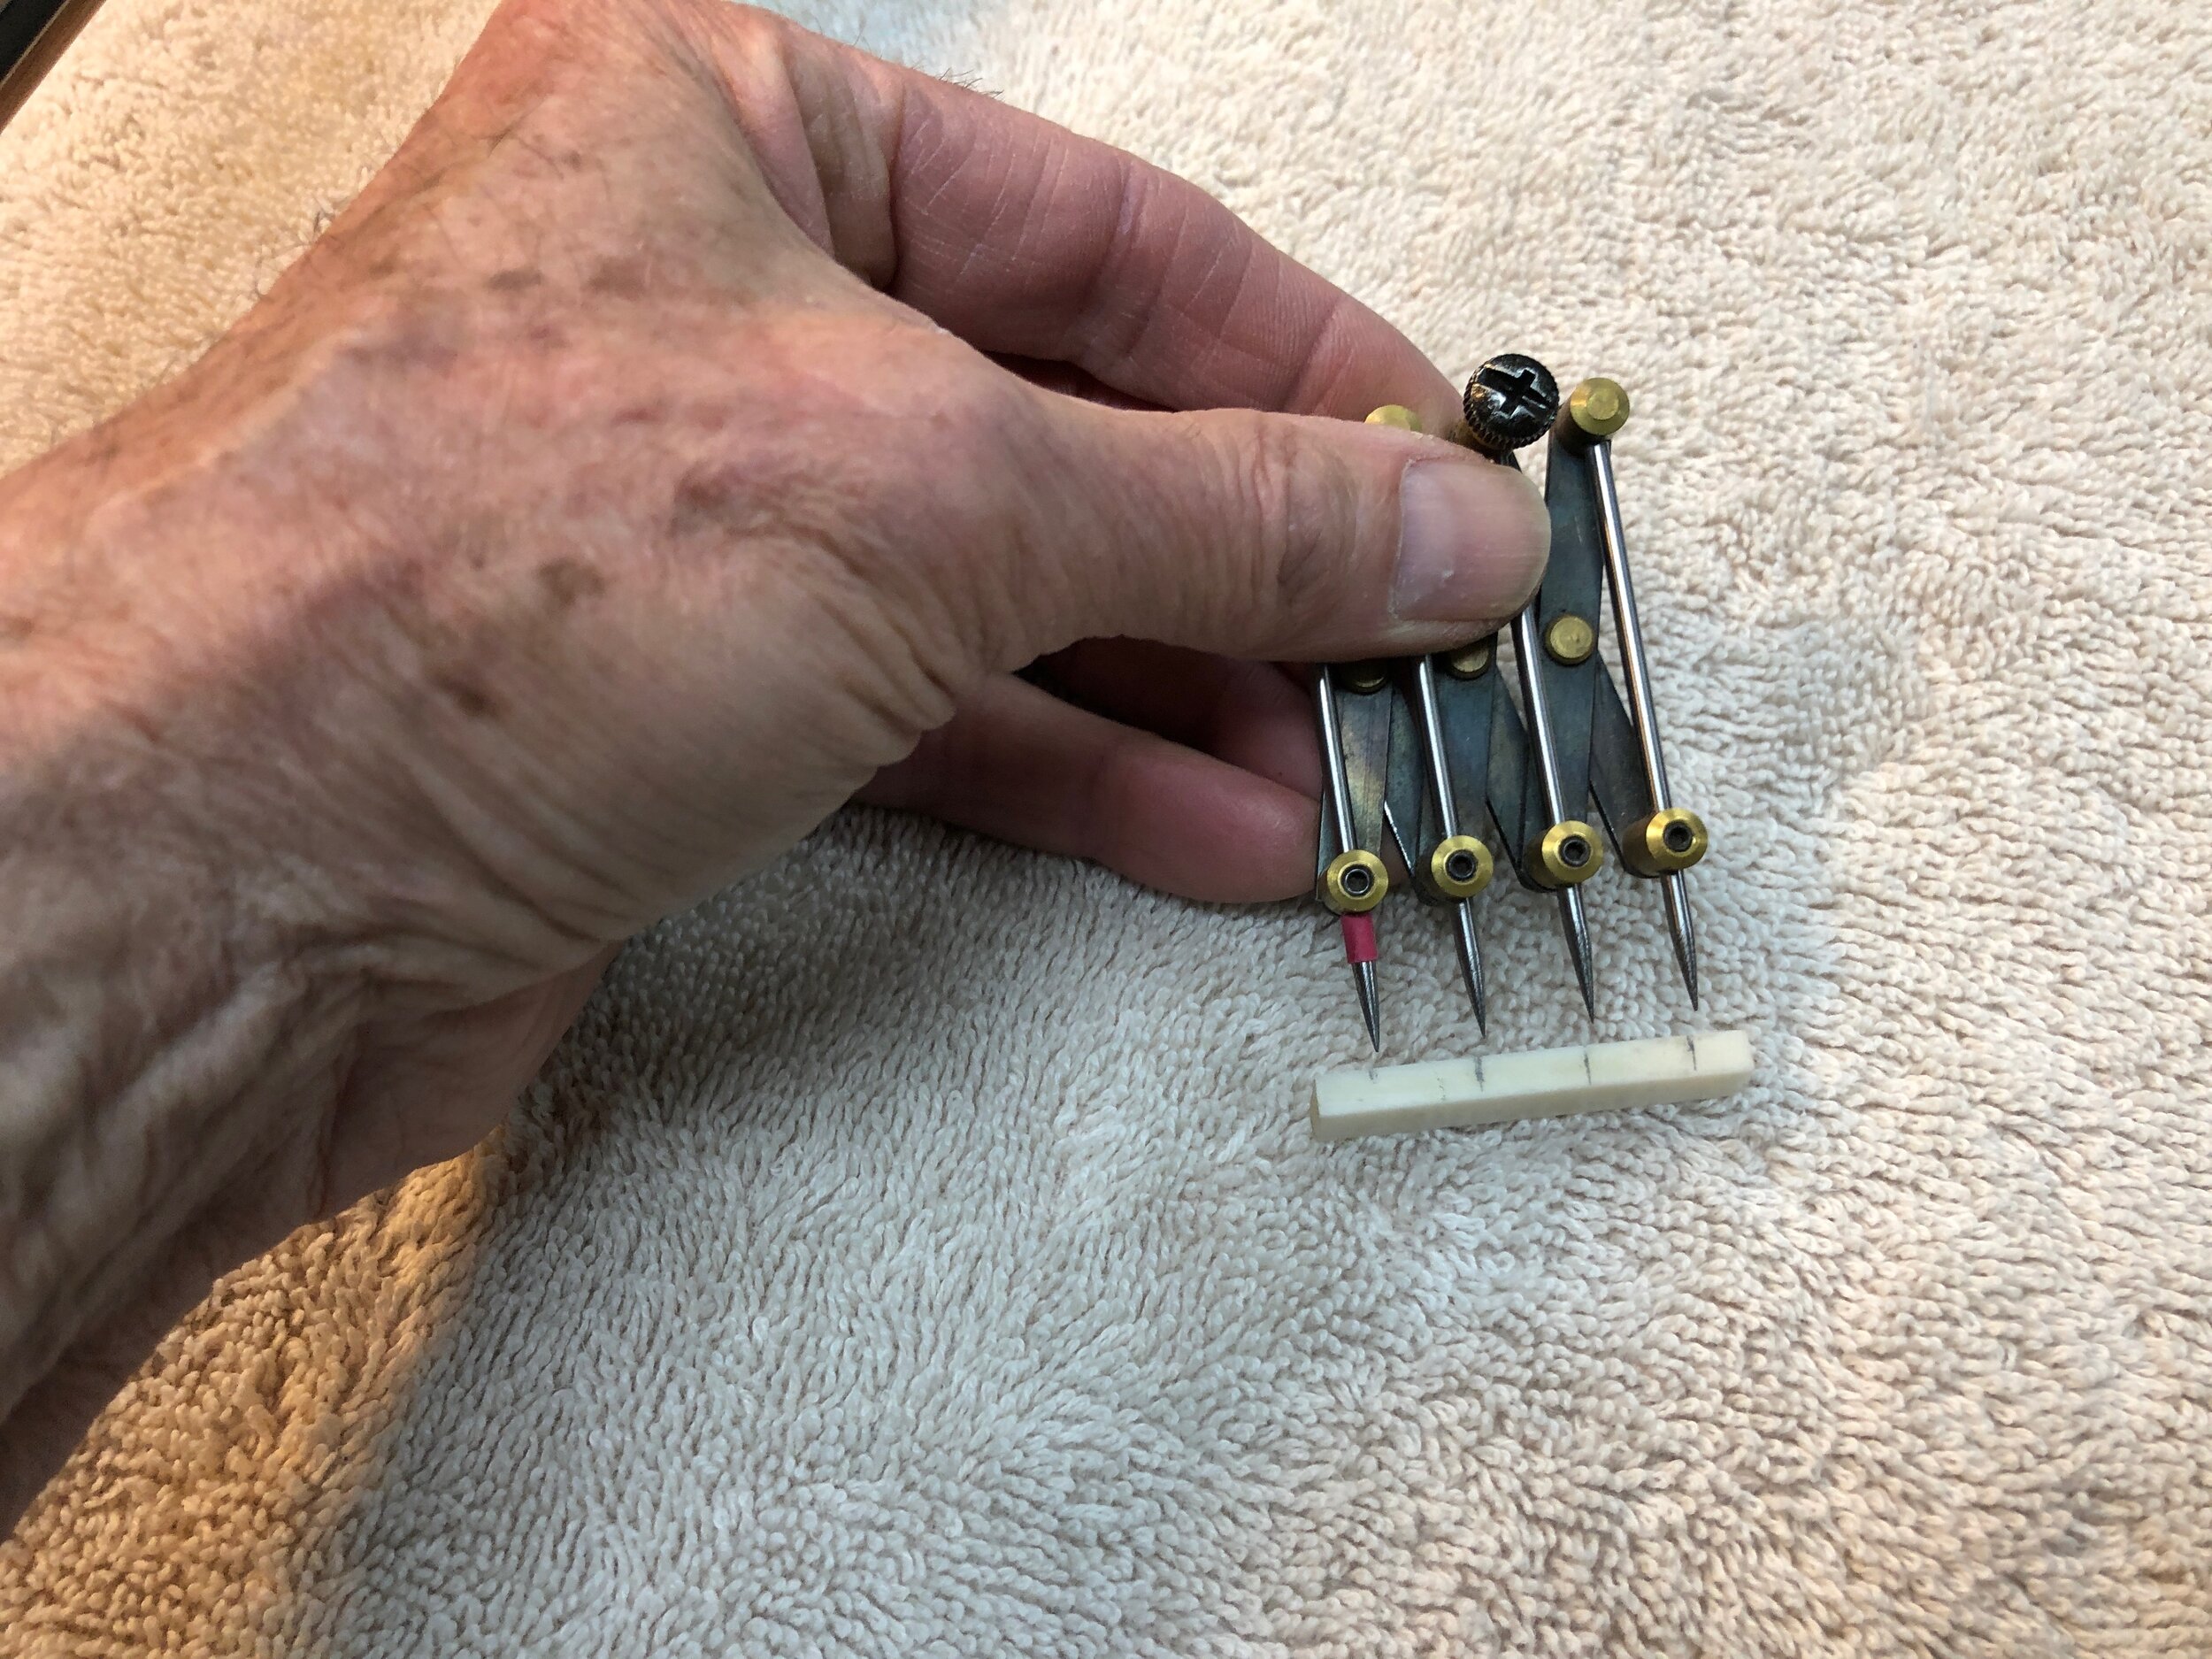
Here's an ingenious and very handy tool that was made by Ken Timms, who is both an accomplished ukulele builder and an experienced machinist. Given the total span of the strings, the spacings of the strings at both the neck and the bridge can be quickly and accurately marked.
The height of the strings about the frets is often referred to as the “action”. To get to the correct action, both the top of the nut and the top of the saddle are lowered as necessary. In the case of the nut, there is additional adjustment by deepening the grooves that the strings pass through. I like each string to sit in its slot up to about a half of its diameter. The saddle and nut are adjusted until the height of the strings is right all along the fretboard. It usually takes some back and forth between the nut and the saddle to get it right. At the nut end, the goal is to get the strings low enough that when fretted in the third position, each string almost touches the first fret. The correct spacing is often described as "one cigarette paper above the fret.” Each string should be as low as possible without buzzing when played. There are even cases when a particular string can actually touch the first fret when depressed in the third position.
The correct height of a string above the fretboard is usually set at the twelfth fret. A reasonable height to shoot for is about .090” from the top of the fret to the bottom of the string. This varies with the particular string, its tension when tuned and how vigorously the strings are plucked or strummed. Too high and the playability of the instrument is impaired. Too low and a string may buzz on a fret or frets. Another important reason for getting the action right is that if it is too high, string will be unnecessarily stretched when fretted, which increases its pitch by increasing its tension and adversely affects intonation.
This gauge is very handy for setting string height at the twelfth fret. It’s placed on the frets and by sighting across the bottom of the strings, the height of each string above the fret can be easily seen. In this example, the string is .090” above the fret.
Finally, a word on compensation. An important step during construction is placement of the saddle at the correct distance from the nut. There are formulas and tables that builders use to determine the exact distance from the nut to the top of the saddle. Calculation, however, doesn’t give us a perfect answer. The standard measure of success is how close the pitch when fretted at the twelfth position is to exactly one octave above the pitch of the open string. This is what is meant by “intonation.” The problem is that a saddle that is straight along its apex rarely, if ever, results in perfectly correct intonation of all strings. Small deviations can be rectified by shaping the saddle so that the apex for each string is a bit closer or farther from the nut. Some builders do individually compensate each string in this way but that isn’t necessarily a good idea. A compensated saddle is generally accurate for only the strings that are on the instrument when it is fabricated. Change the strings and intonation almost always changes. It also changes with humidity as the instrument adapts to its environment and as the strings age. Intonation sometimes seems to change bit even when you do nothing more than walk away from the instrument and come back to it later. For most players, a fully compensated saddle is not very useful. Unless you want to learn how to make saddles or to pay a technician to do it, a better approach is to shape the saddle so that it will achieve reasonable compensation with various string sets over time. Doing this is a matter of bringing experience to bear. For example, one thing that is quickly learned is that the A string on a ukulele generally goes a bit flat at the twelfth fret unless the apex of the saddle at that point is a bit closer to the nut that is the case for the other strings. This can easily be done when the saddle is made and is generally a reasonable long-term solution. For the most part, an ukulele gets along fine without individually compensated strings.


