THE FINISHING TOUCHES (PART 2 - SETUP)

Setup is the process of adjusting the height of the strings with respect to the fretboard. To at least some extent, this is a matter of personal preference of the player but the generally accepted rule is that playability is enhanced when the strings are as close to the frets as possible but high enough above them that they don't contact them when vibrating, which causes buzzing. This is accomplished by adjusting the height of the nut and the height of the saddle in an interactive process by which the height at each end is adjusted. First, a point needs to be made with respect to radiused fretboards. Both the nut and the saddle have tops that are radiused to match the fretboard, so it is convenient to radius the tops and then adjust the height of both the nut and the saddle by removing material from the flat bottom. A clever tool maker has invented a device that does this job very well. The nut or saddle is clamped in the tool and then run across a flat piece of sandpaper. It’s easy to adjust the amount that is removed and, more importantly, the bottom surfaces of the nut and saddle end up perfectly flat, which is exactly what we want so that they seat well in their slots.

IMG_1691.jpeg
IMG_1692.jpg

Anyone who tries to shape a very small piece of bone while holding it with fingers will quickly start looking for a better way. The work piece needs to be held firmly in jaws that won't damage the bone and in a position that makes it easy to shape the top with sandpaper. I made this plastic “jaws within jaws” that works with my vise. It’s narrow enough and far enough above the wider vise jaws that I can easily shape and refine the tops of nuts and saddles with sanding boards.

IMG_1689.jpg

Here's an ingenious and very handy tool that was made by Ken Timms, who is both an accomplished ukulele builder and an experienced machinist. Given the total span of the strings, the spacings of the strings at both the neck and the bridge can be quickly and accurately marked.

IMG_1693.jpeg

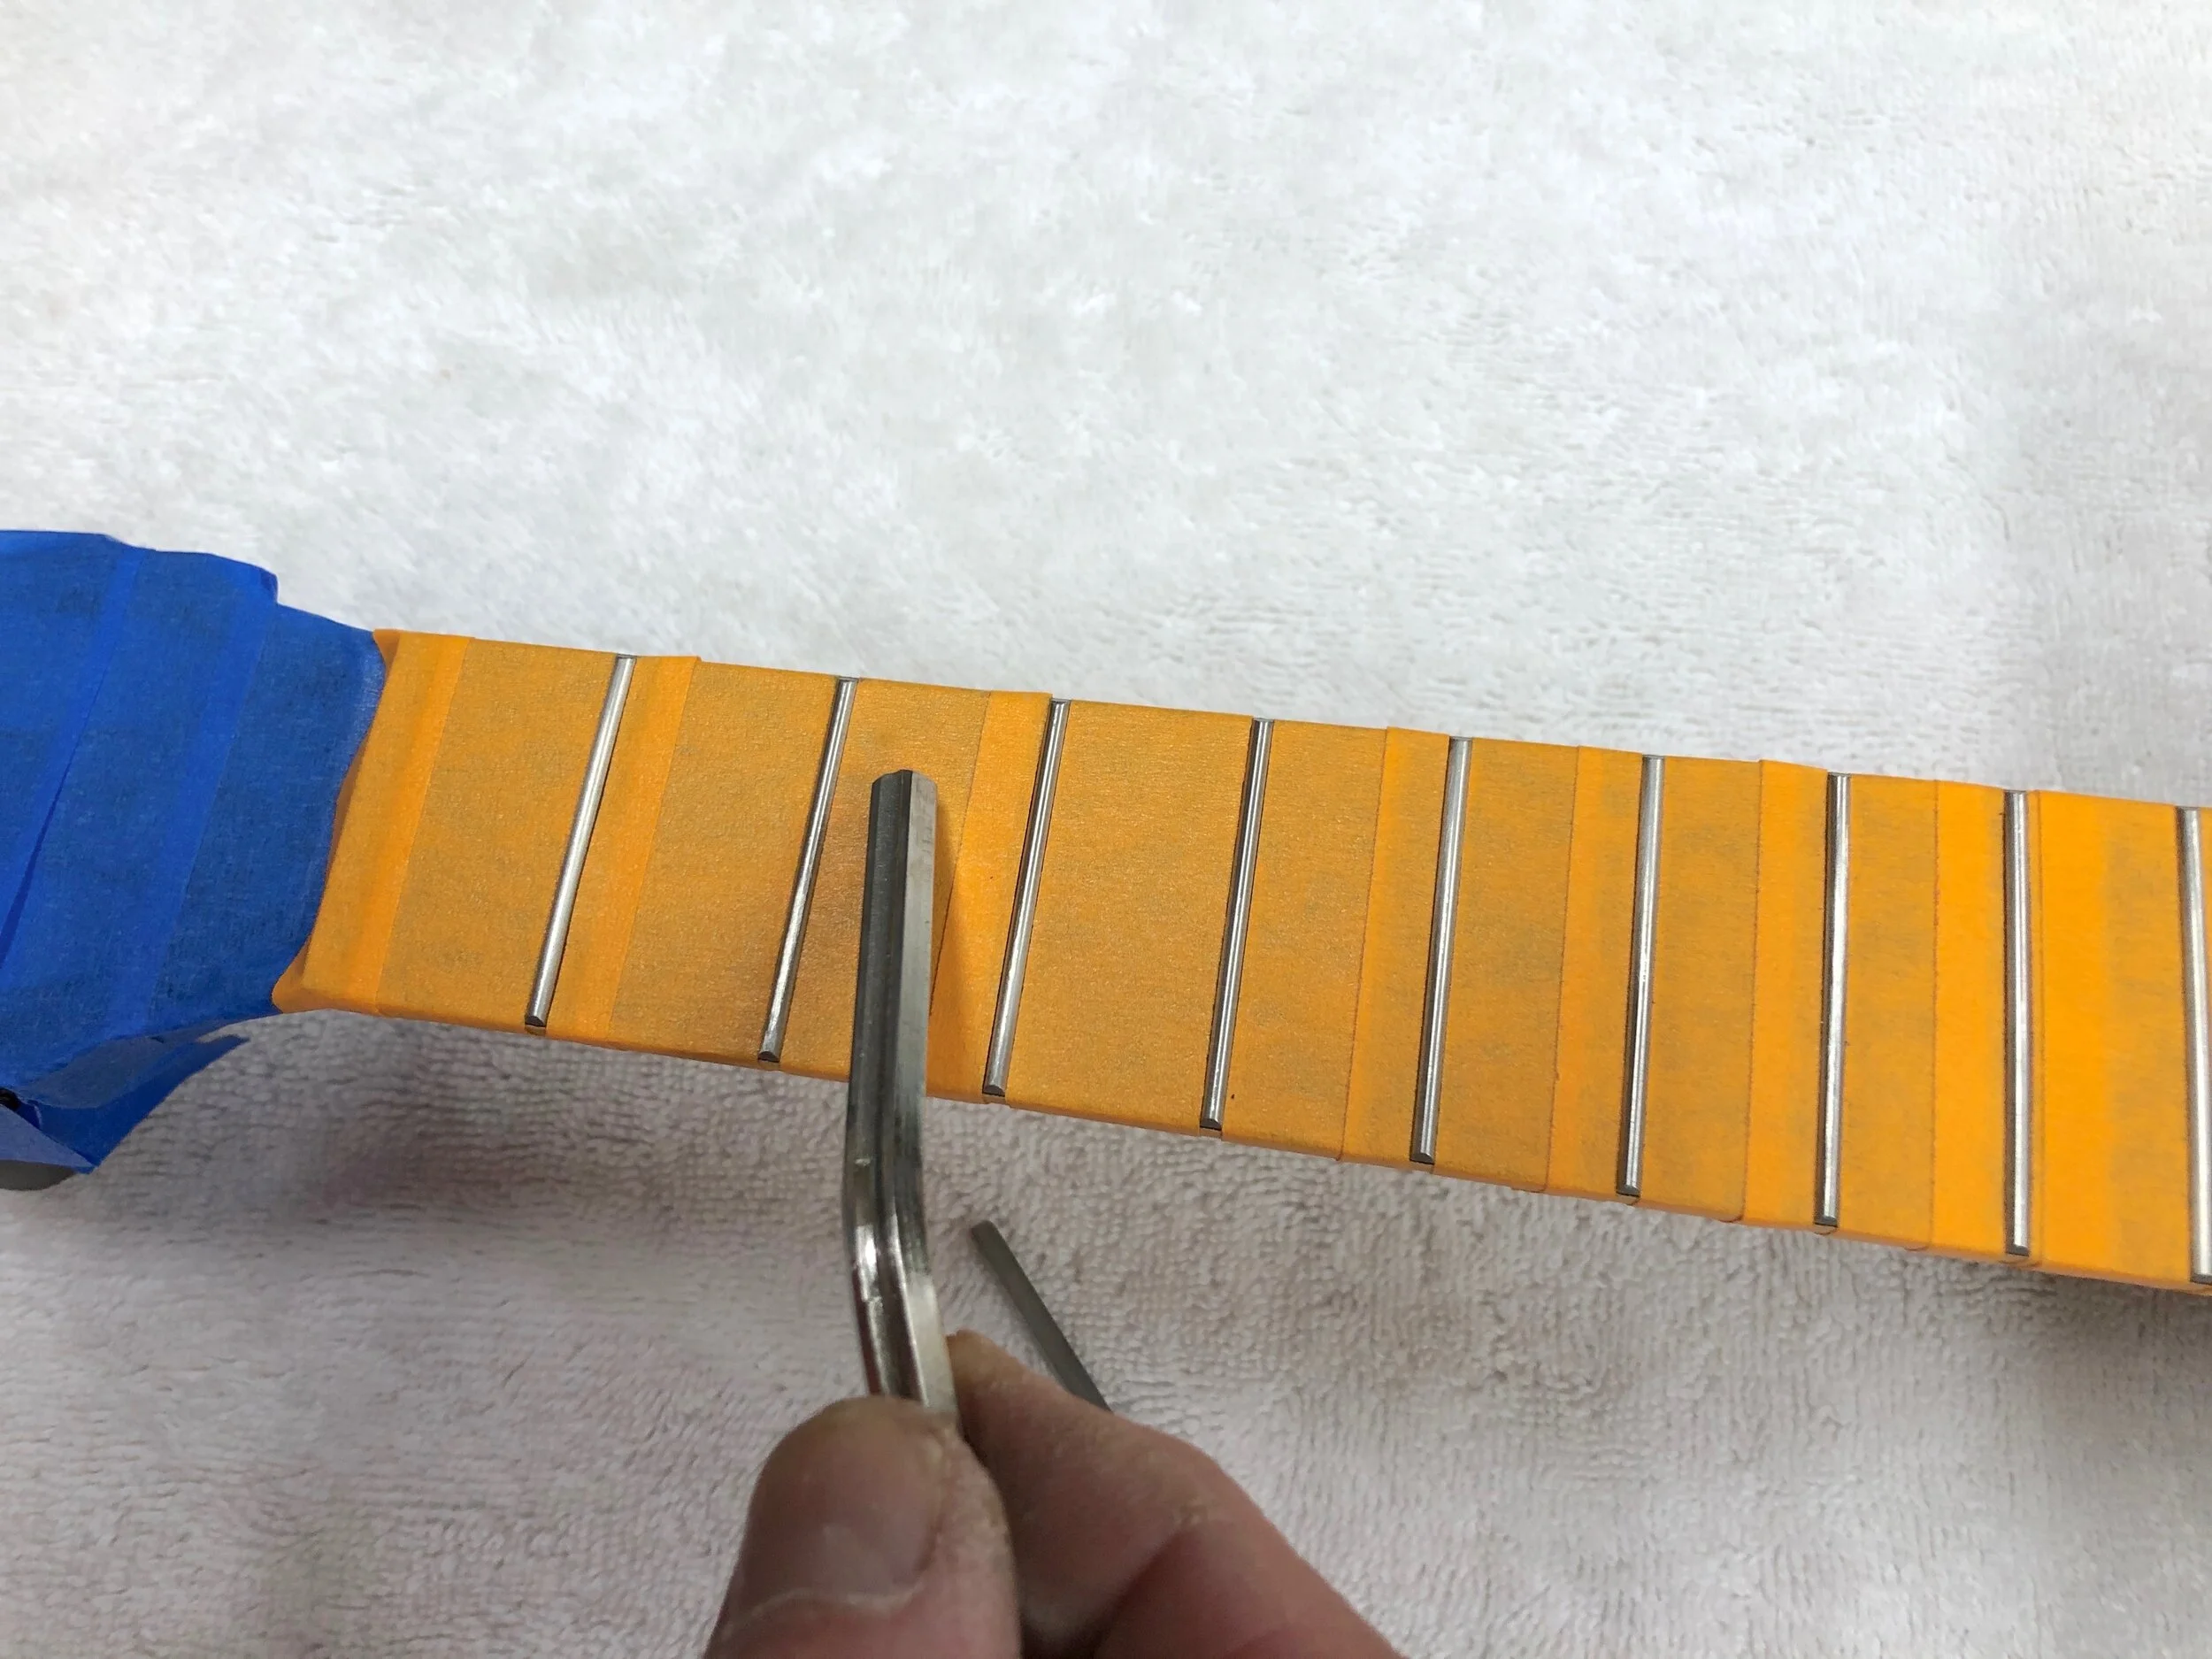
The height of the strings about the frets is often referred to as the “action”. To get to the correct action, both the top of the nut and the top of the saddle are lowered as necessary. In the case of the nut, there is additional adjustment by deepening the grooves that the strings pass through. I like each string to sit in its slot up to about a half of its diameter. The saddle and nut are adjusted until the height of the strings is right all along the fretboard. It usually takes some back and forth between the nut and the saddle to get it right. At the nut end, the goal is to get the strings low enough that when fretted in the third position, each string almost touches the first fret. The correct spacing is often described as "one cigarette paper above the fret.” Each string should be as low as possible without buzzing when played. There are even cases when a particular string can actually touch the first fret when depressed in the third position.

IMG_1699.jpg

The correct height of a string above the fretboard is usually set at the twelfth fret. A reasonable height to shoot for is about .090” from the top of the fret to the bottom of the string. This varies with the particular string, its tension when tuned and how vigorously the strings are plucked or strummed. Too high and the playability of the instrument is impaired. Too low and a string may buzz on a fret or frets. Another important reason for getting the action right is that if it is too high, string will be unnecessarily stretched when fretted, which increases its pitch by increasing its tension and adversely affects intonation.

This gauge is very handy for setting string height at the twelfth fret. It’s placed on the frets and by sighting across the bottom of the strings, the height of each string above the fret can be easily seen. In this example, the string is .090” above the fret.

IMG_1698.jpg

Finally, a word on compensation. An important step during construction is placement of the saddle at the correct distance from the nut. There are formulas and tables that builders use to determine the exact distance from the nut to the top of the saddle. Calculation, however, doesn’t give us a perfect answer. The standard measure of success is how close the pitch when fretted at the twelfth position is to exactly one octave above the pitch of the open string. This is what is meant by “intonation.” The problem is that a saddle that is straight along its apex rarely, if ever, results in perfectly correct intonation of all strings. Small deviations can be rectified by shaping the saddle so that the apex for each string is a bit closer or farther from the nut. Some builders do individually compensate each string in this way but that isn’t necessarily a good idea. A compensated saddle is generally accurate for only the strings that are on the instrument when it is fabricated. Change the strings and intonation almost always changes. It also changes with humidity as the instrument adapts to its environment and as the strings age. Intonation sometimes seems to change bit even when you do nothing more than walk away from the instrument and come back to it later. For most players, a fully compensated saddle is not very useful. Unless you want to learn how to make saddles or to pay a technician to do it, a better approach is to shape the saddle so that it will achieve reasonable compensation with various string sets over time. Doing this is a matter of bringing experience to bear. For example, one thing that is quickly learned is that the A string on a ukulele generally goes a bit flat at the twelfth fret unless the apex of the saddle at that point is a bit closer to the nut that is the case for the other strings. This can easily be done when the saddle is made and is generally a reasonable long-term solution. For the most part, an ukulele gets along fine without individually compensated strings.

THE FINISHING TOUCHES (PART 1 - FRETWORK)

The final steps in finishing an instrument are dressing the frets and then installing the strings and doing the final setup. This entry will cover fret dressing, the point of which is to make sure that all the frets are at the correct height and properly shaped both along the top of the fret and at the ends. The first step actually takes place when the frets are installed. It is important that each fret be pressed into its slot with the same amount of downward force. I do this with a modified arbor press on which the normal handle has been replaced by a click-style torque wrench. A fret is placed in its slot and the torque wrench is used to apply downward pressure until it clicks.

IMG_1680.jpg

Before working on the frets, it is important to tape off the fretboard to keep it clean and to protect it from damage. Installing all of the frets with uniform force reduces the work required to bring them all to the same height at all places on the fretboard. This is an important step that helps prevent buzzing. On this tenor fretboard, all the frets were very nearly the same height as judged by a small straight edge placed across three frets at a time at both the center and the ends of the frets. If it rocks, there’s a problem that needs to be fixed. Only a few minor adjustments were required.

IMG_1681.jpg

A variety of tools can be used to level the frets as necessary but, in this case, a small diamond file with a concave surface did the work quickly and easily.

IMG_1683.jpeg

All that was required was a few swipes in a few spots. It is often necessary to restore the rounded crown of a fret that has been filed down. In this case, very little shaping was necessary because very little was removed from the tops.

IMG_1684.jpeg

The ends of the frets are sanded or filed earlier in the process of making the neck so that the ends are canted inward. The final step in shaping the ends is rounding them over a bit with a small and very fine file.

IMG_1682.jpeg

The frets are then sanded with very fine sandpaper to remove any marks left by leveling and shaping. Once the frets are leveled and the ends are shaped properly for comfortable playing, the final step is to polish each fret. I usually do this with a small buffing wheel in a Dremel tool. A thin stainless steel mask is used to protect the fretboard. Of course, when I buff frets, I am holding the mask with one hand rather than holding a camera!

IMG_1685.jpeg

The fretboard is cleaned to remove dust that accumulates in the pores and then oiled or waxed. The final “quality control” step is to verify the "relief" that is built into the top surface of the neck before the fretboard is glued in place. This shop-made device shows that the fretboard is very slightly bowed by about three one-thousandths of an inch. It is expected that this will increase slightly under string tension but the carbon fiber rod that is buried in the neck will resist further bending. In the setup process that is done after the strings are installed, this tiny amount of relief allows the strings to be a bit lower than would otherwise be possible. When a string vibrates, the greatest amount of movement occurs at the center of the string and the relief helps to avoid contact between a vibrating string and a fret, which would produce unwanted "buzz”.

IMG_1679.jpg

ATTACHING THE BRIDGE

There are a number of ways to glue a bridge on the top. What they all have in common is that the finish always has to come off down to the wood in order to allow a strong glue joint. Many builders remove the finish by routing but leave a thin line of finish inside of the bridge footprint, as this gives the cleanest appearance. Most full gloss finishes are a few thousandths of an inch thick, so the bottom of the bridge doesn’t contact the exposed wood of the top, making the glue joint problematical. Some try to improve this by slightly rebating the underside perimeter of the bridge in an attempt to have the edges of the bridge sit directly on the finish with the underside of the bridge in contact with bare wood to ensure a strong joint. Trying to make this work out well can be an exercise in frustration unless it all comes together perfectly. The problem is that we're dealing with just a few thousandths of an inch and a little bit of extra glue sets the bridge too high and too little glue makes for a glue joint with gaps between bridge and top. After doing some test samples, I've arrived at the belief that the best way to do it is to score the finish around the perimeter of the bridge and then rout and chisel right up to the scored line. You don’t want to try this after a couple of double espressos! The bridge then sits right on the wood in a very shallow recess and you know that when it’s clamped you're going to get a good glue joint. The joint line between the bridge and the top is not as clean but when hot hide glue is used, it tends to fill the visible joint between bridge and finish and the bridge is likely to stay where it belongs for a long time. My necks are attached to the heel of the body in the same way with a routed and recessed surface and hot hide glue (as well as a through bolt, of course).

IMG_1669.JPG
IMG_1668.JPG
IMG_1671.JPG

A fitted caul is essential to my gluing system. The top of the caul is curved to match the 25’ radius of the top and it is slotted as necessary to avoid the internal top braces. This helps to insure that the top retains the correct curvature and that there is good contact between the top and the underside of the bridge to promote the best possible strength in the glue joint.

IMG_1687.jpeg

ONE WAY TO MAKE AN END GRAFT

At the tail of the instrument's body, there's a seam that can be perfectly joined or, more usually, dressed up with a decorative element called an end graft. This is one of many ways to do it. The adjustable fixture is fitted with a clear plastic template and positioned exactly over the seam. A small router is run around the inside of a slot in the template to cut a precise pocket into which the end graft is inlaid. This koa concert got a ko'u end graft that will complement its ko'u rosette and peghead overlay.

IMG_1529.JPG
IMG_1522.JPG
IMG_1524.JPG
IMG_1527.JPG